
When making a WordPress website, Elementor is one of the best plugins for people who like page builders.
It was also for me.
But I switched from Elementor to Gutenberg for the whole website design a few months after it was released.
What led me to change? What was the process? What distinguishes Elementor from Gutenberg? Let’s dive in to find out.
Elementor vs Gutenberg – Why You Should Consider Switching Elementor to Gutenberg
To be fair, Elementor is not bad as a plugin. In fact, over the past few years, it has been upgraded enough that you can use it to build several websites. It’s easy to use and gives you the freedom to make your website look and feel exactly how you want it to.
The Elementor team has also regularly added new features, increasing the plugin’s usefulness.
The problem with the majority of page builders, though, is that they are generally slow. No matter what optimization measures you take, you will never be able to match the speed of a native WordPress website.
The block editor was added to WordPress 5.0, and it was already installed, to make it easier to make websites with features similar to what page builders offer.
Initially, the community was very critical of the Gutenberg editor because it was far from flawless. However, with the passage of time and improvements, it has gotten better and better. Many people started using Gutenberg to design blog content after WP 5.0.
Even if you start using Gutenberg, you will realize why it was a massive move by users to switch from Elementor to Gutenberg, especially for their landing page. Gutenberg is arguably the future of WordPress.
This year, when it will be possible to change the whole site, the Gutenberg editor will become even more popular.
Why Gutenberg
Blocks
The name “blocks” is appropriate because they are the building blocks you use to upload content. They are a crucial new addition to the WordPress ecosystem.
In Gutenberg, each distinct piece of content has its own block. This includes written sentences, pictures, featured photos, embedded files, headers, and more. Selecting the desired block type and pressing the plus sign-indicated button can add a block to a post or page.
By default, there are already several blocks available. Because Gutenberg lets you build your own blocks, you can easily add almost any kind of content to it.
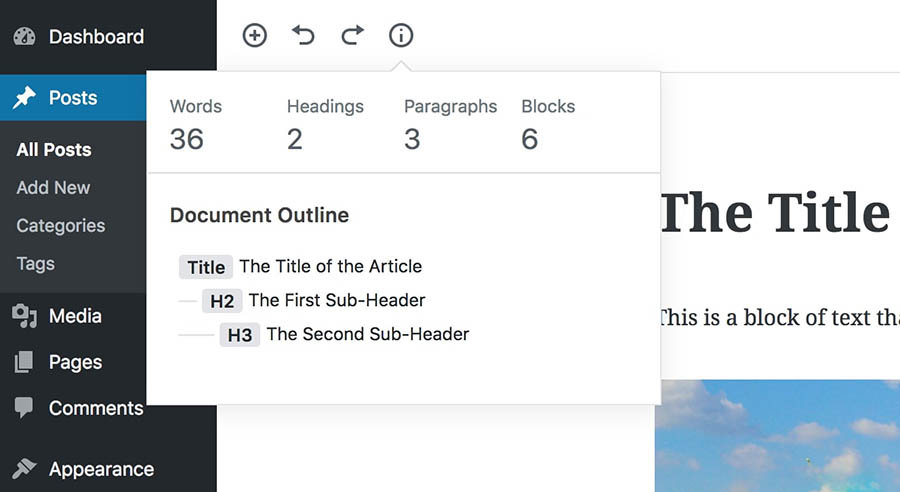
Document Outline
The new Document Outline is a small but valuable enhancement. When you add at least one heading into the content, this function becomes available, and you can access it by clicking the information button in the editor’s upper-left corner.
You can also click on the headings to quickly get to each block and update it. The Document Outline doubles as a helpful table of contents. This feature, which was completely missing from the old editor, makes it easy to see how your content is organized.
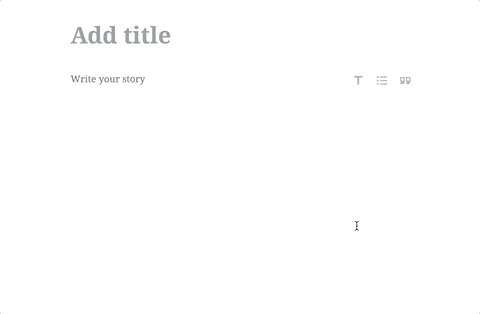
WYSIWYG Editor
The What You See Is What You Get (WYSIWYG) interface ensures you always know exactly how the layout will appear after it is published.
When you make changes in the editor, what you see is much more similar to what will appear on the website’s front end. This eliminates the mismatch that results from using an editing interface that conceals the final appearance of your content. The days of continually saving and previewing your work to ensure it looks good are over. Most of all, you get the all-important distraction-free environment.
Factors to Consider Before Transforming Elementor to Gutenberg
There are a few factors to think about and assess before making the switch from Elementor to Gutenberg to ensure a smooth transition.
1- 3rd Party Plugin
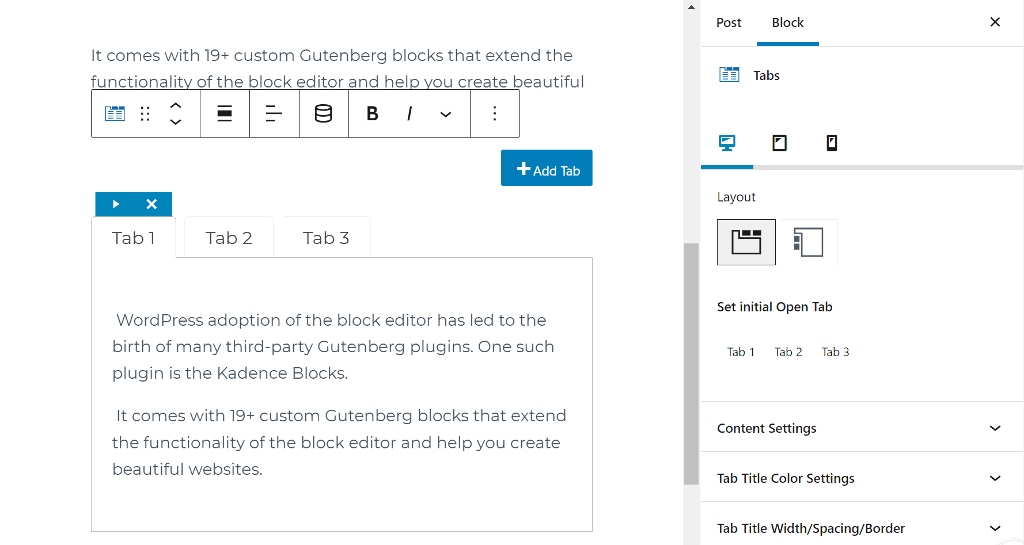
Gutenberg has evolved massively, and the platform is continuously adding blocks. Additionally, changes have been made to existing blocks to give them greater features. However, page builder-centric functionalities are still missing from the basic blocks. That’s where independent Gutenberg plugins are useful. They enhance the capabilities of the Gutenberg editor and make it simple to construct intricate website sections. Stackable and Kadence Blocks are two popular Gutenberg plugins.
2- WordPress Recent Version
You must ensure your website is upgraded to the most recent WordPress version to design pages using Gutenberg. WordPress 5.0 and later is the only version that supports the Gutenberg editor.
Utilizing the most recent version ensures you are using the most refined version of the editor even though it is compatible with WordPress 5.0.
3- Create a Staging Environment
Making design modifications to a live site is not a smart idea. Setting up a staging environment is necessary before switching from Elementor to Gutenberg.
To make modifications before publishing the revised version to the live site, it makes a copy of the website. This ensures none of your visitors land on an incomplete or broken page.
Most web hosting companies let you create a setup environment for your live website. Check with your hosting support to find out if this functionality is included in your hosting package.
From here on, we will take you through the whole process of migration from Elementor to Gutenberg. You can use the same transformation process because it is the same for all sites that use C-Panel hosting.
1st Step
Login to the website’s cPanel.
2nd Step
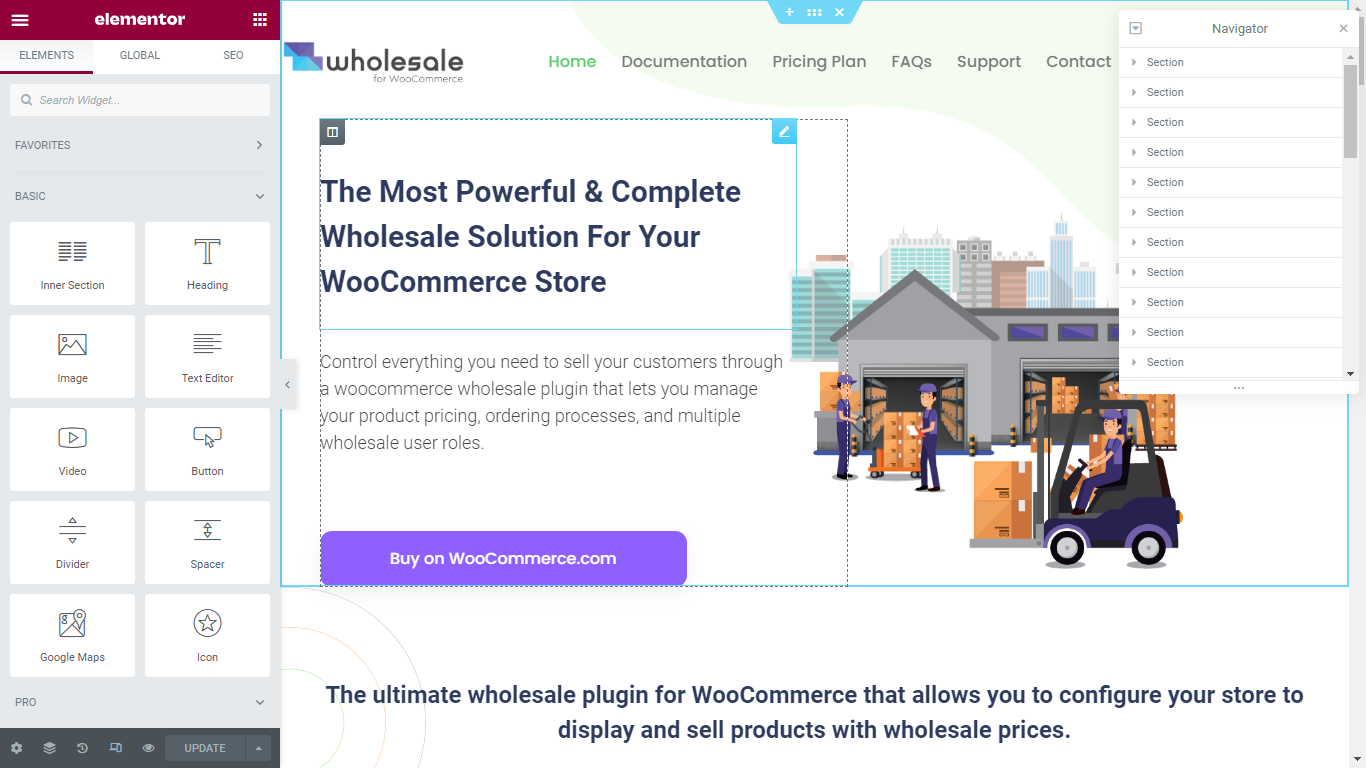
Now start converting by understanding the overall page structure. To get a full picture of the page, open it in Elementor and go to the navigator.
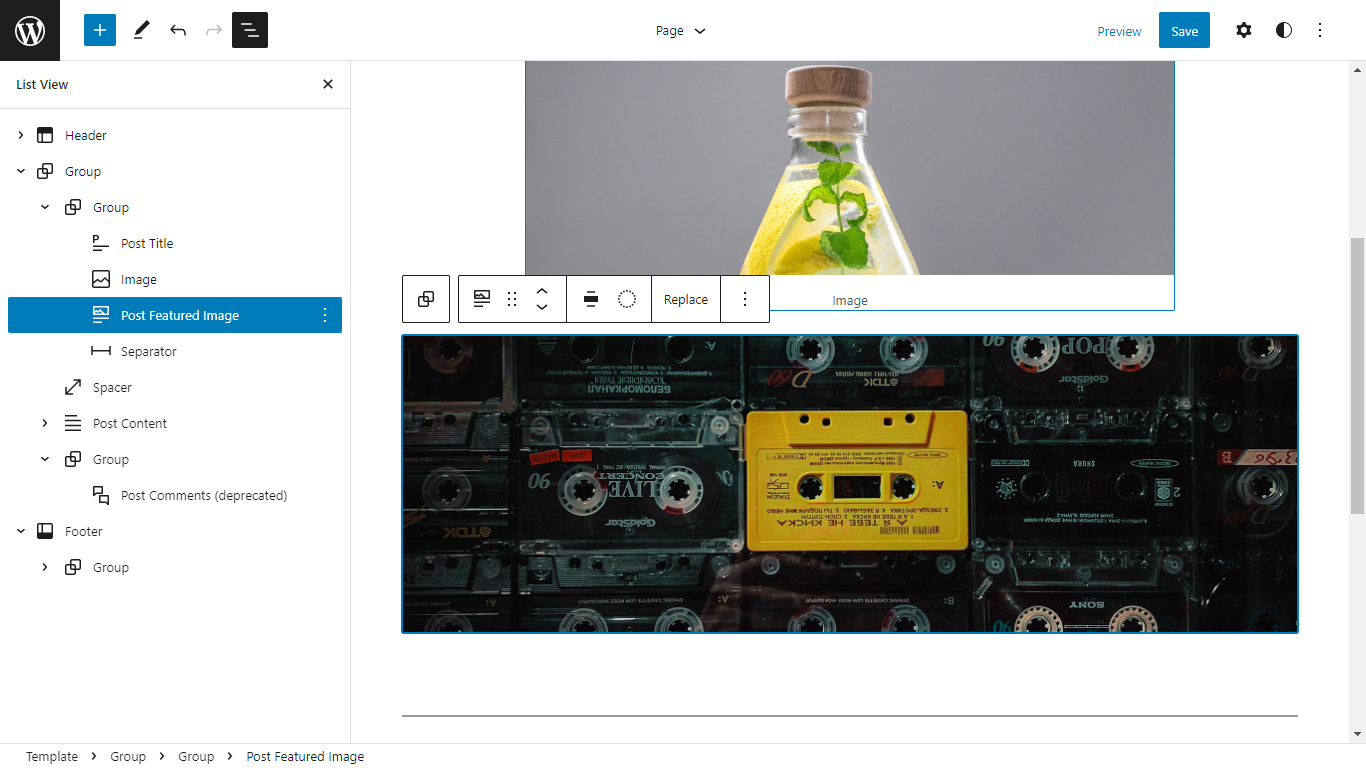
You can add wireframe blocks from the Kadence Blocks library to a page with one click. Insert section blocks like those on the live site to begin replicating the structure. Eventually, add content to complete the creation of a fully-functional page.
After uploading images and text to the page, replicate the styling, like the shape dividers and background color. Take the same steps for further pages to have a complete website from Elementor to Gutenberg.
After making the site ready, go to the cPanel again and then the WordPress Manager. Here you will see a new button. Click on the “Push” button to move to the next step.
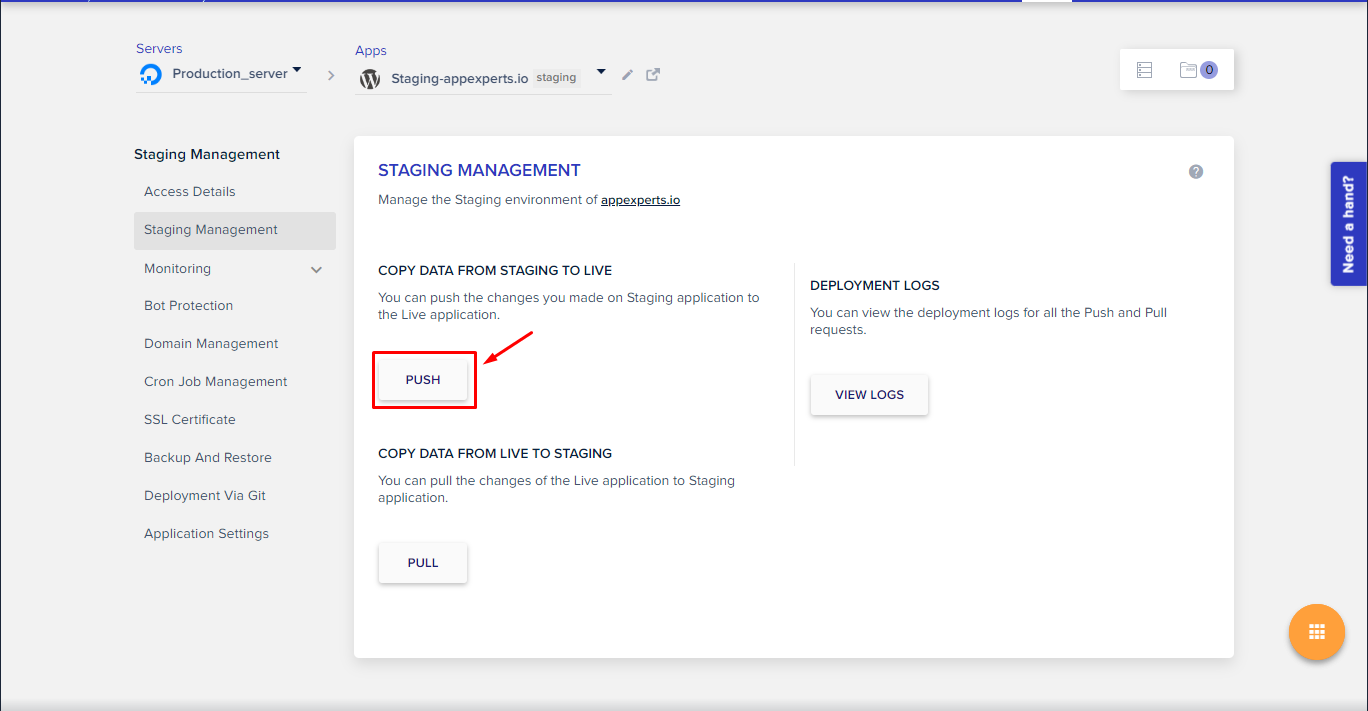
Performing this will open a new window with two choices. You can select the Default option if you haven’t made any changes to the live site. Doing this will replace all of your live installation files with those from the staging installation. If you have made any modifications, select Customize and all the database fields you want to replace.
Summary
It’s time to remove non-Gutenberg plugins from your website for a better user experience and performance now that you’ve made the first step toward embracing the Gutenberg editor. As you may already be aware, building an email list is crucial for any internet business. It enables you to connect with visitors and turn them into clients.


