The Gutenberg Interface
The Gutenberg Interface, Explained
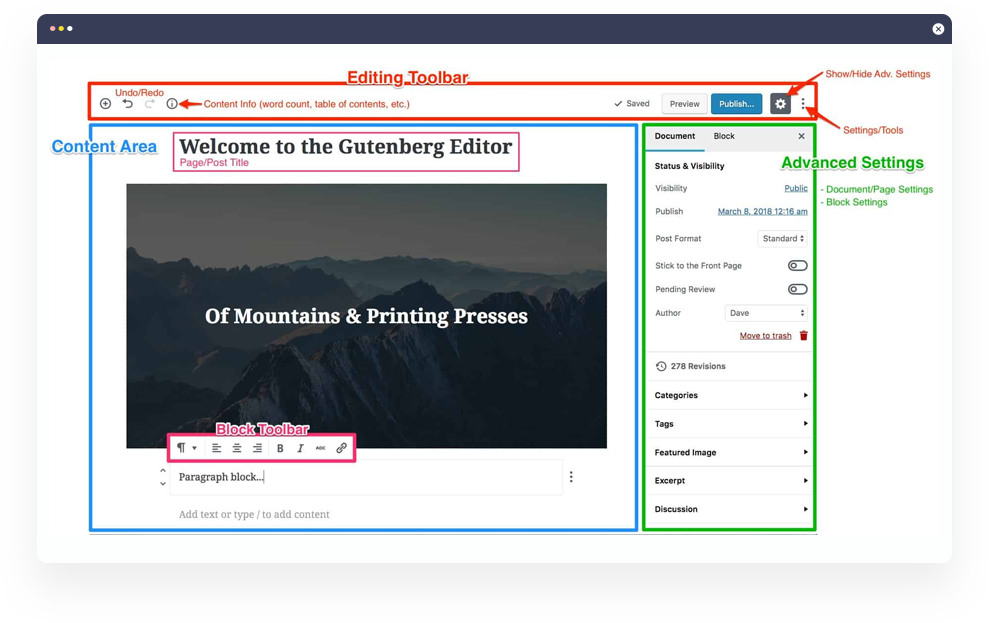
3 Main Sections
- Editing Toolbar: Very top of screen, outlined in red
- Content Area: Large area on the left side of the screen, outlined in blue
- Advanced Settings: Right sidebar area, outlined in green
1. Editing Toolbar
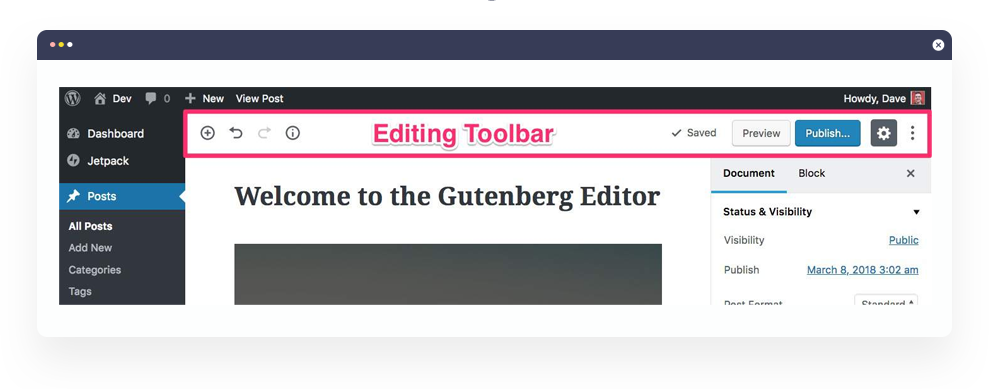
Located at the very top of the screen, the editing toolbar allows you to do the following:
- Add a new block to the content area
- Undo/Redo changes you’ve made
- View your content’s structure (number of words, paragraphs, blocks, headings, and a table of contents)
- Save your changes, or see a visual confirmation that your latest changes have been auto-saved
- Preview your page/post
- Publish settings, such as post visibility & publish date/time
- Show/Hide the advanced settings right sidebar
Additional settings, including:
- Switch between visual & code editors
- Fix the block toolbar to the top of the screen (more on this below)
- Copy all content
2. Content Area
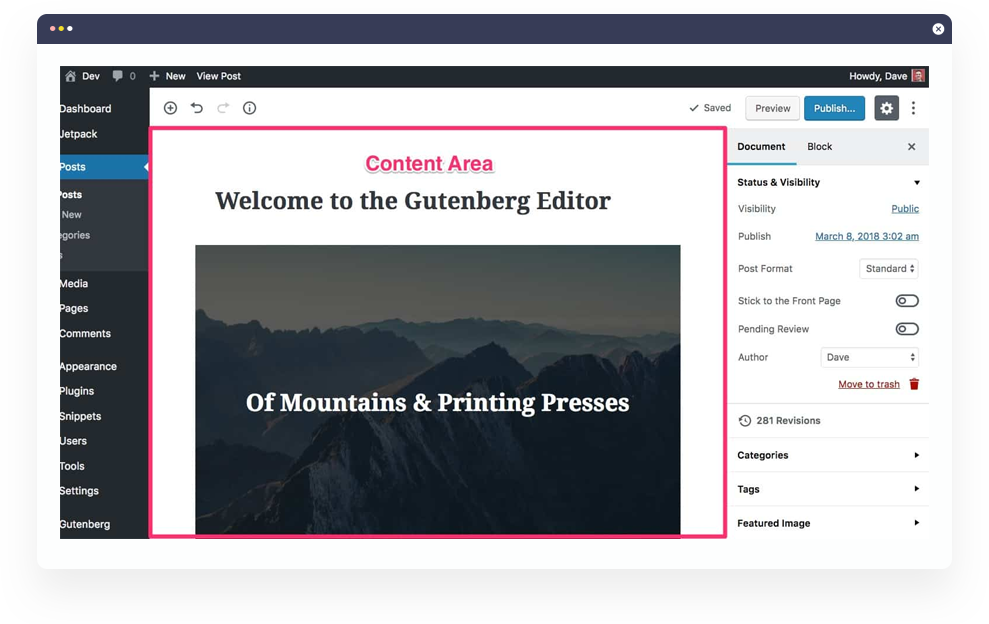
The content area is where you add content to your page. This is essentially the same as
it was in the classic WordPress editing screen. Only now, instead of using TinyMCE to
edit content, you’re using Gutenberg blocks.
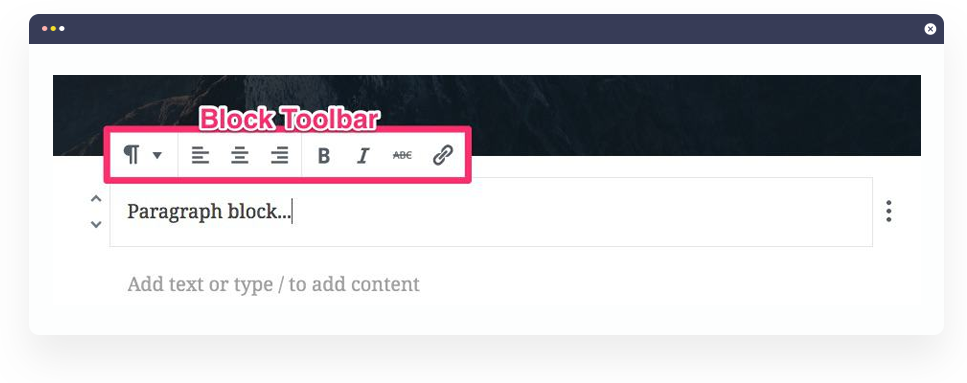
Block Toolbar
3. Advanced Settings
The advanced settings area is located in the right
sidebar, and comprised of two distinct sub-sections:
- Document Settings
- Block Settings
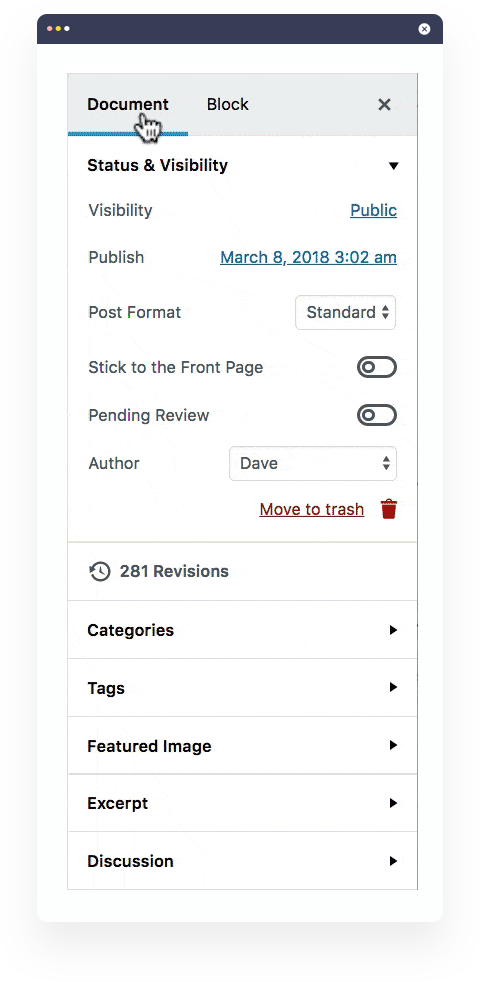
Document Settings (aka: Page Settings)
I like to think of these as page (or post) settings. They are the settings that apply to that one specific page or post that you are editing.
Document settings contains much of the same information that was in the right sidebar of the classic WordPress editor:
- Status, visibility & publish date
- Post format
- Categories
- Tags
- Featured image
It also includes some things that you were used to seeing below your content (at the bottom of the page):
- Author
- Discussion settings
- Excerpt
Block Settings
This is where you’ll find advanced settings for each individual block on your page.
The block toolbar, directly above the block itself (in the content area), contains the most commonly used, and most basic, settings. However, many blocks have even more options, and those can be configured here in the right sidebar.