Image Block
Overview
Gutenberg’s new image block functions almost the same way as the classic editor’s “Add Media” button. Align your image to the left, right or center, provide a caption, link, alt text, etc.
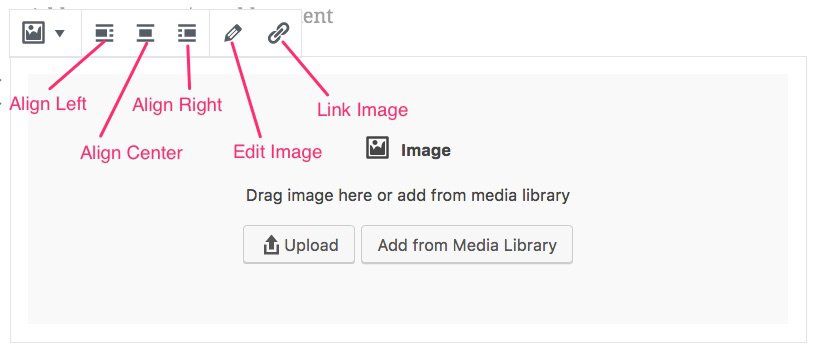
Let’s take a look at how to add an image & customize its style & settings.
How to Add an Image in Gutenberg
When adding an image in Gutenberg, you can upload a new image or choose an existing one from your Media Library. There are now 3 ways to add an image:
1. Drag'n'drop an image from your computer onto the editing screen
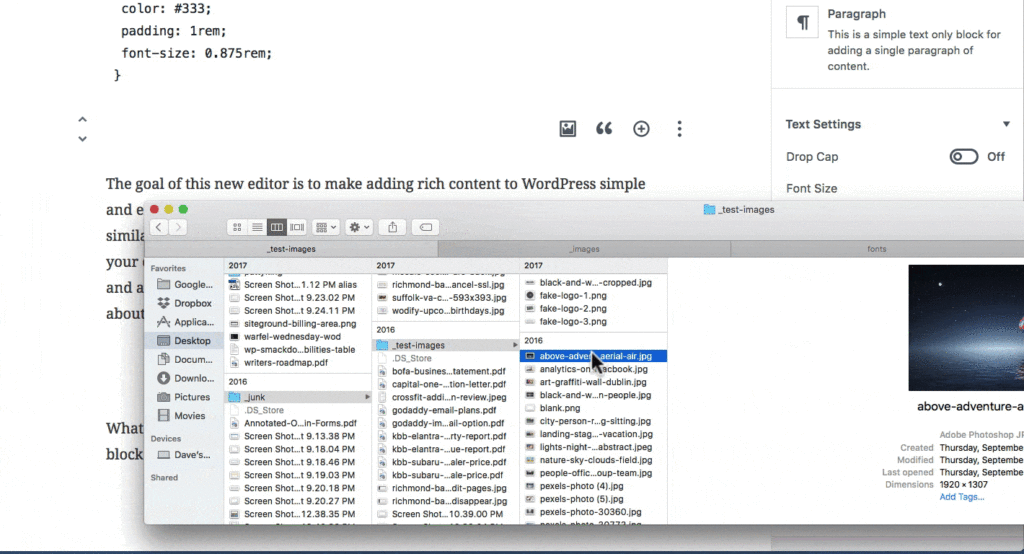
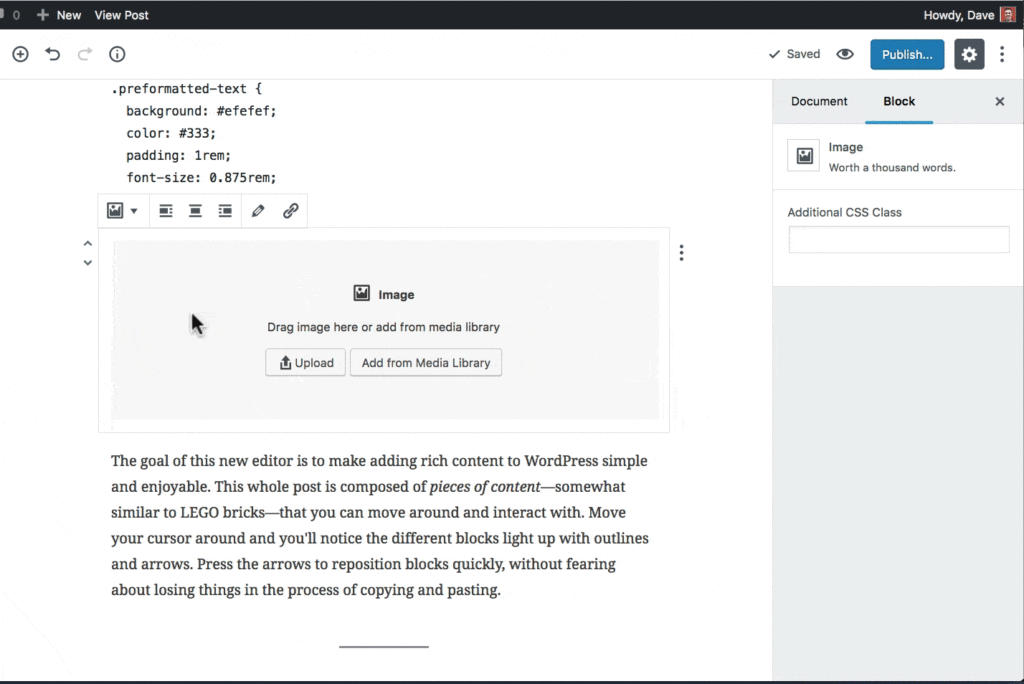
2. Click the "Upload" button to select an image from your computer
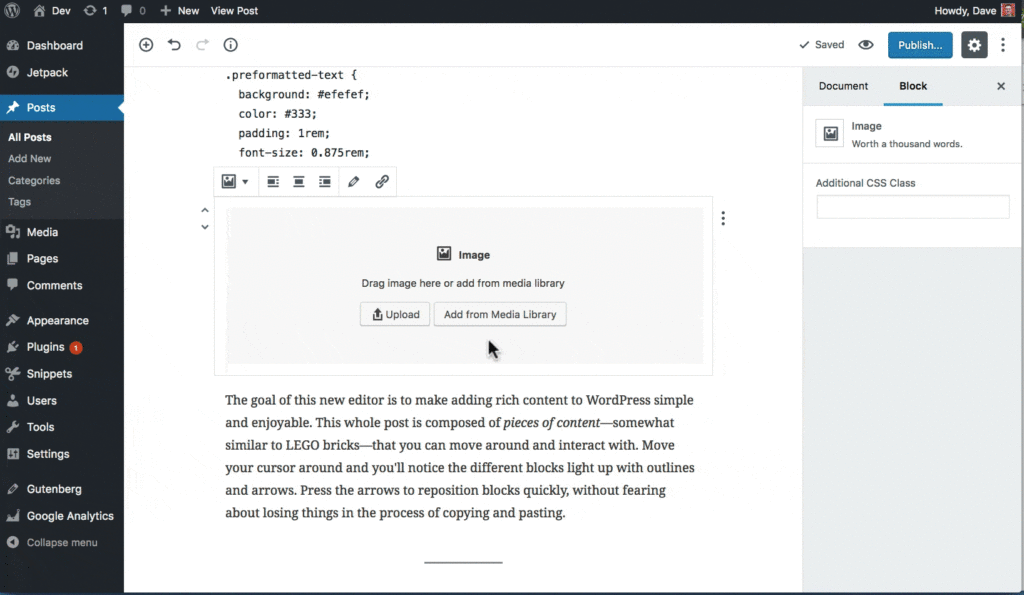
3. Choose an existing image from your Media Library
How to Resize an Image
One of the new features of the Gutenberg image block is the ability to resize your image. You can’t crop it, but you can include a smaller version while maintaining the image dimensions.
- Grab any one of the blue circles in the corner of the image
- Click and hold
- Drag either inward or outward, depending on whether you want to decrease or increase the image’s size.
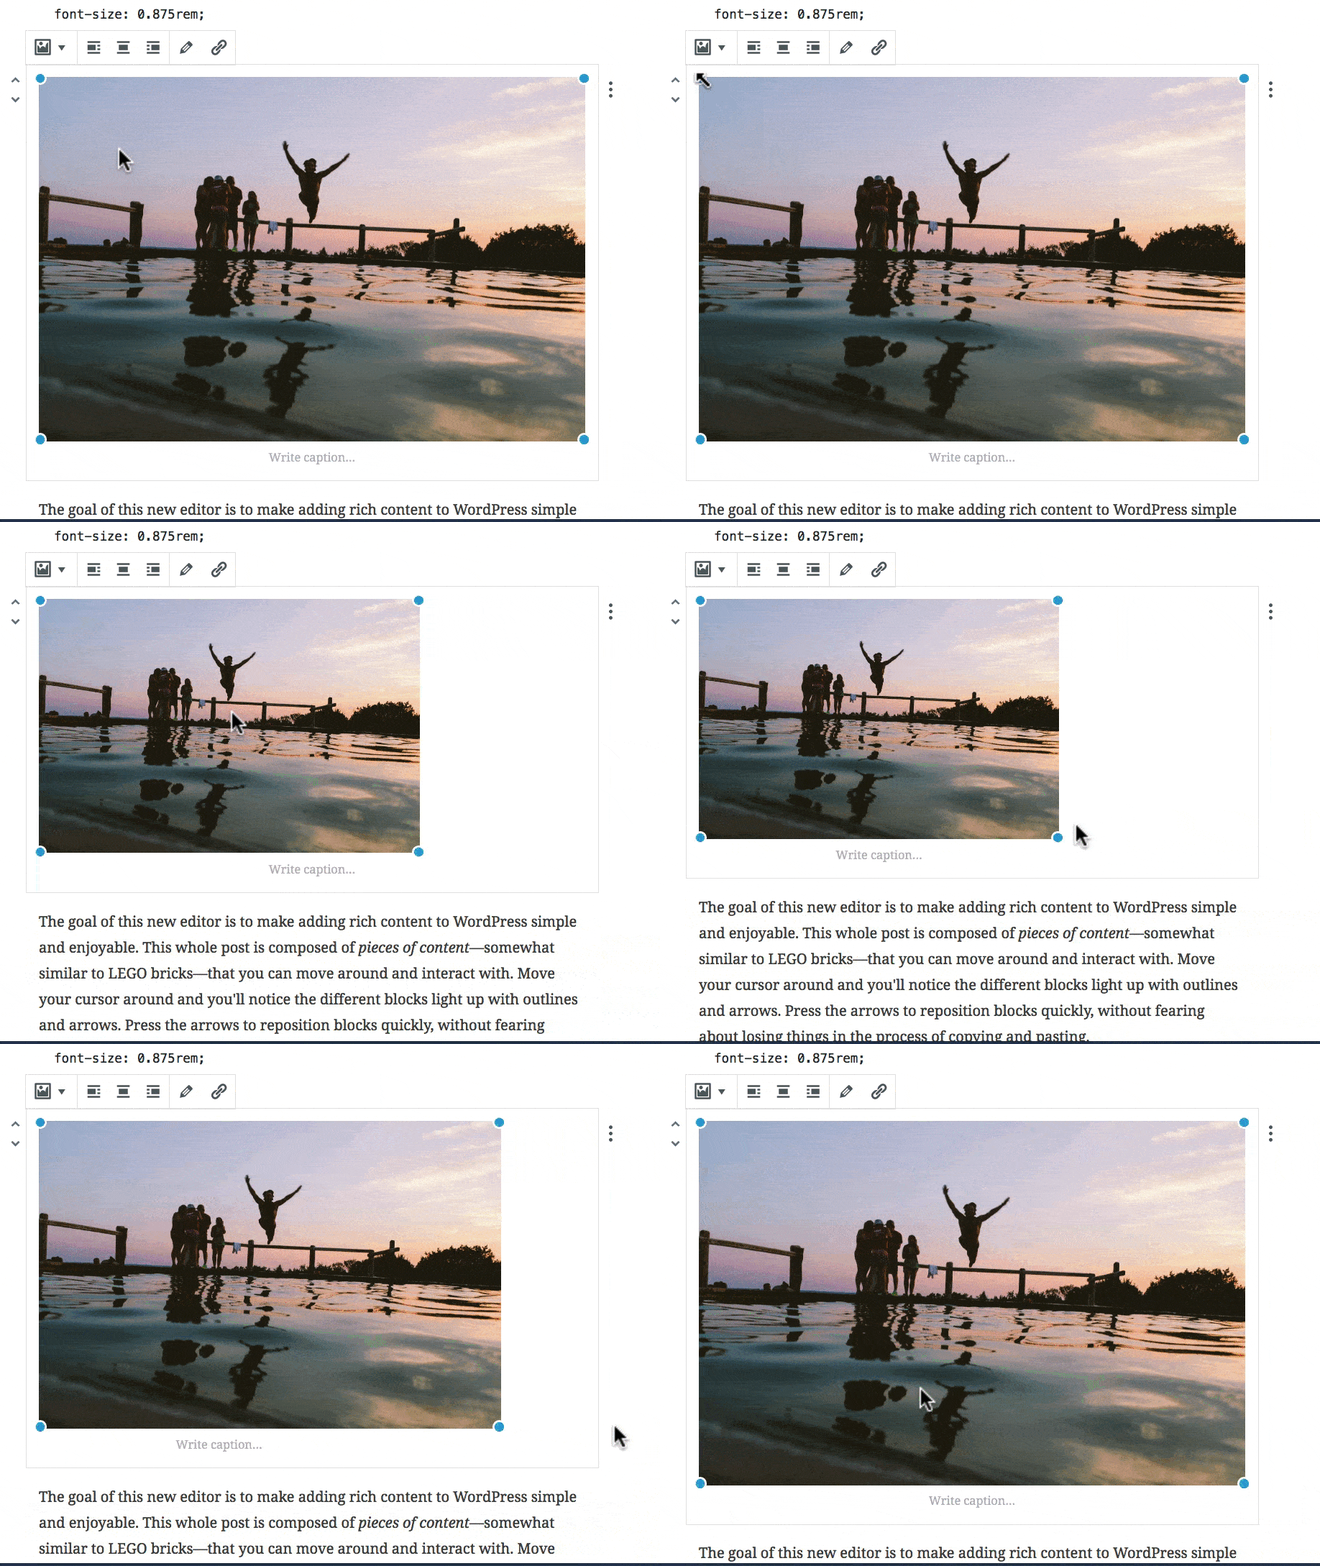
Image Block Alignment
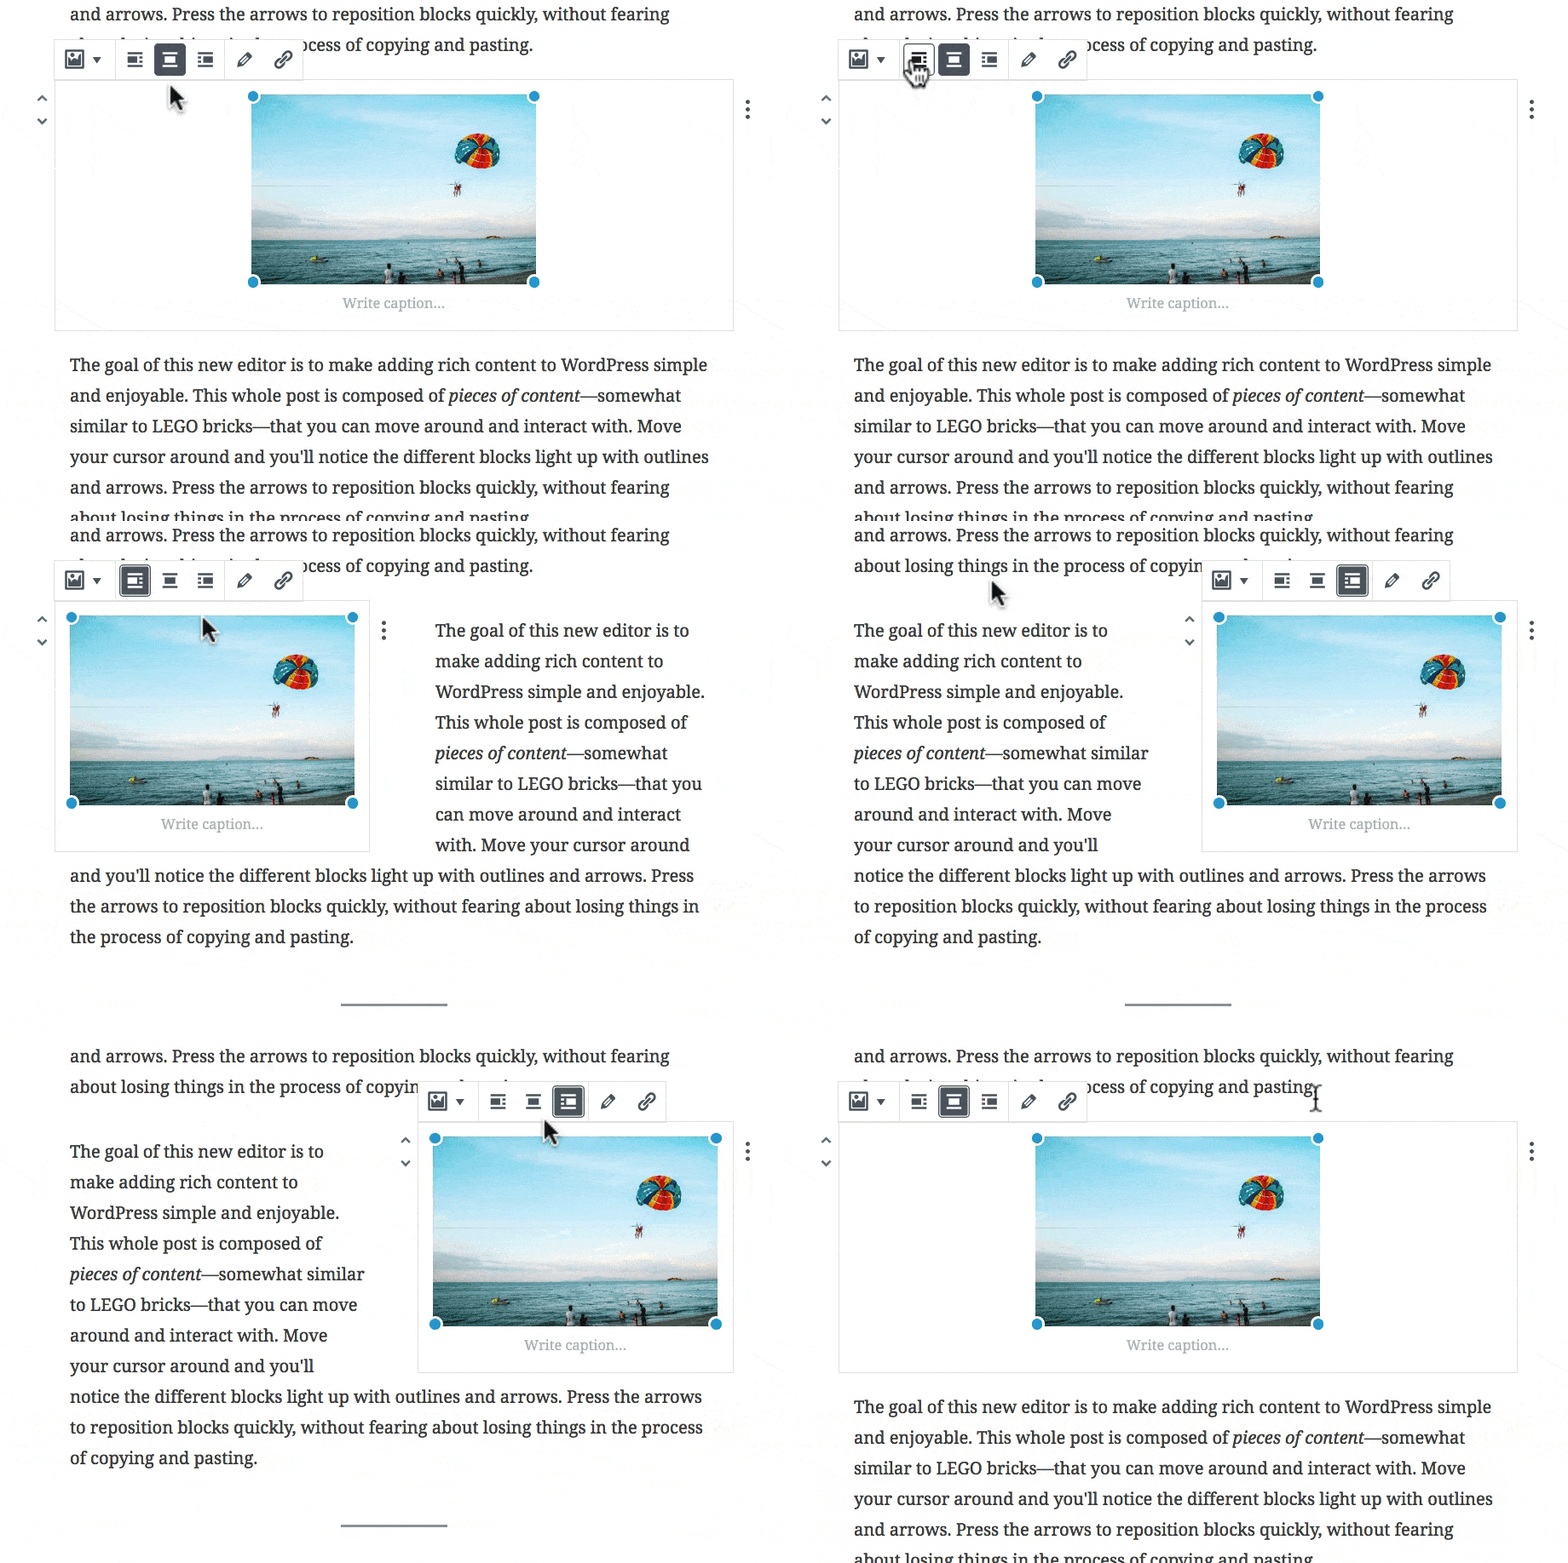
For example, a left block alignment will move your image to the left, and whatever blocks you have below that, they will float up to the right side of your image.
You have three block alignment options to choose from:
- Left
- Center
- Right
Left & Right will float your image to its respective side. Center will align your image block in the center of the page, possibly adding some space to the left & right of it.
NOTE: You may need to reduce the size of your image for the left & right alignment options to work properly.
Image Captions
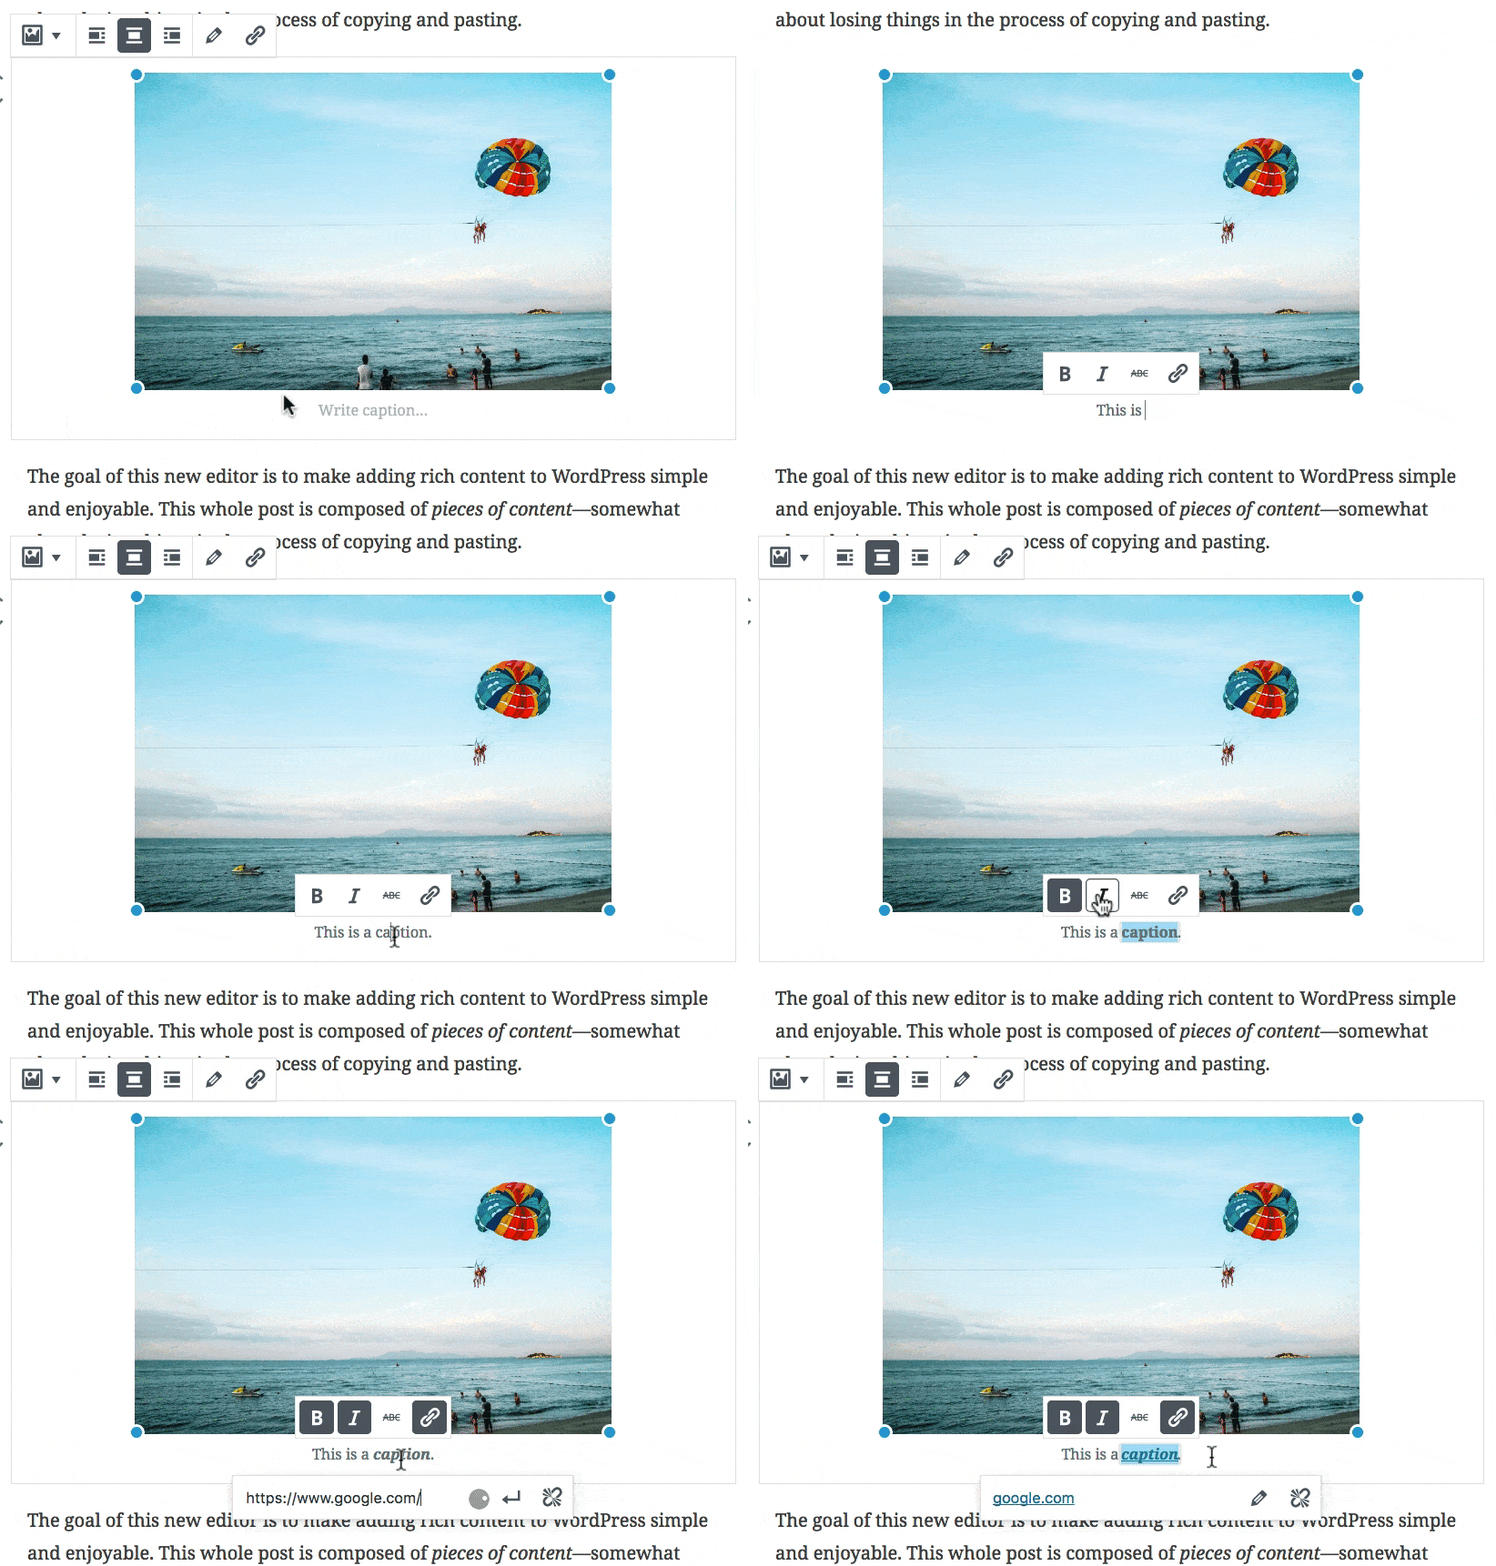
mage captions will be styled by your theme, but you can set a few additional options on your own:
- Bold
- Italics
- Strikethrough
- Links
Click the B for bold, the I for italics, and the ABC for strikethrough.
Here’s a quick example:
Link an Image
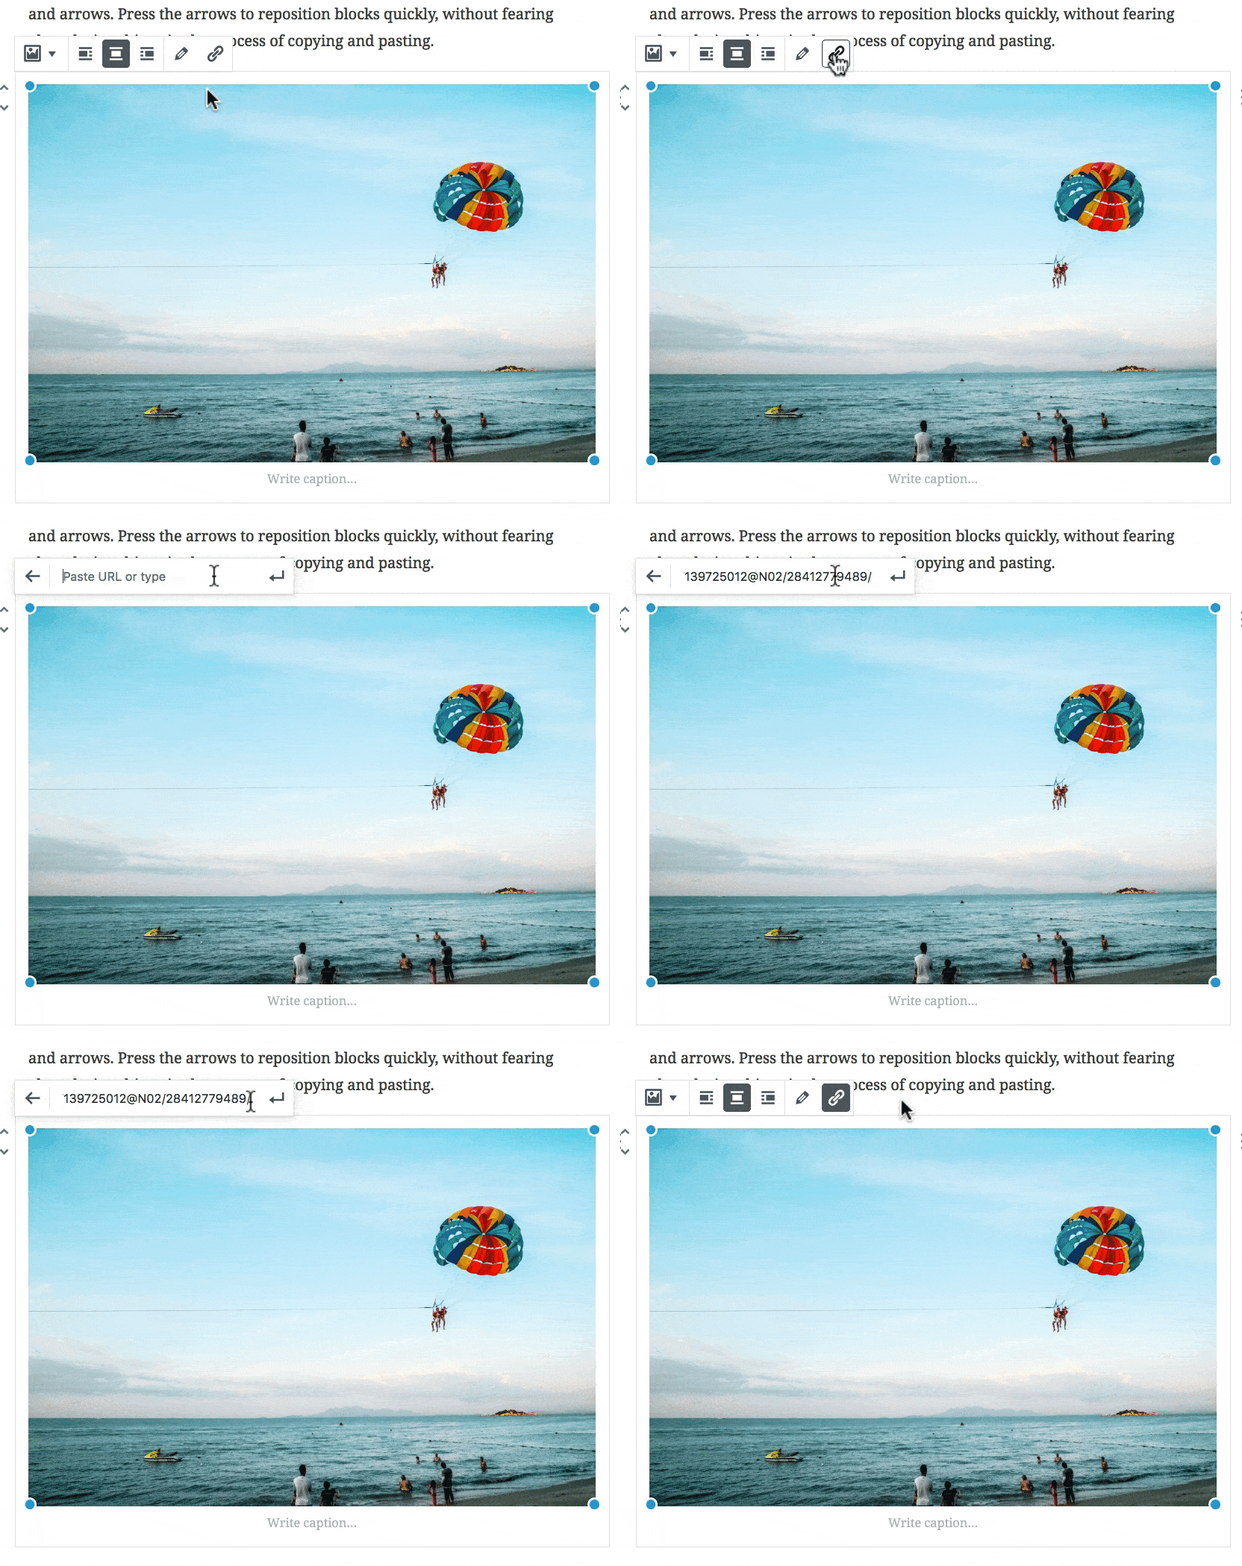
If you want your image to link to another destination, you can simply use the link icon in the toolbar.
Advanced Image Settings Panel
Most of the image settings are located right above the image block. There are a few additional things you can do in the advanced settings panel.
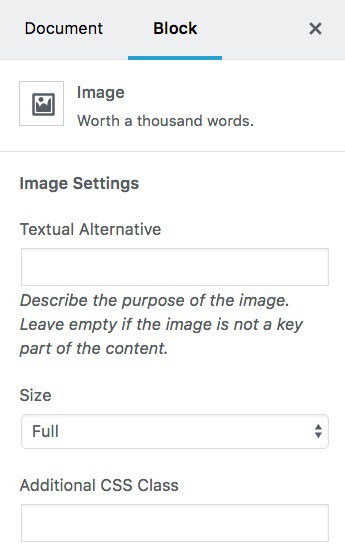
Textual Alternative
This is more commonly known as “Alt Text.” If your image is a main part of the content, you should provide a textual description of it. If your image is purely for design purposes, you can leave this blank.
Image Size
You can adjust the size by moving the blue circles on the 4 corners, as described above. However, you can also select from one of your pre-determined WordPress image sizes here.
Additional CSS Class
If you’re looking for even more control over your image, you can add an additional CSS class and write custom styles of your own.
- Multiple CSS classes are permitted
- Separate each class name with a space
You can also still edit an image in the same way as you did in the classic editor. Just click the pencil icon to open the image in the WordPress Media Library, where you can:
- add/edit alt text
- add/edit a title
- add/edit a caption
- edit the image (crop, scale, rotate, etc.)
- choose a different image
Convert an Image to a Gallery
The image block can only be converted to one other block type, and that’s a gallery. Choosing this option will allow you to choose more images—in addition to your current one—to add to a gallery.
